Cabinet Installation Made Easy: Tips for a Flawless Finish
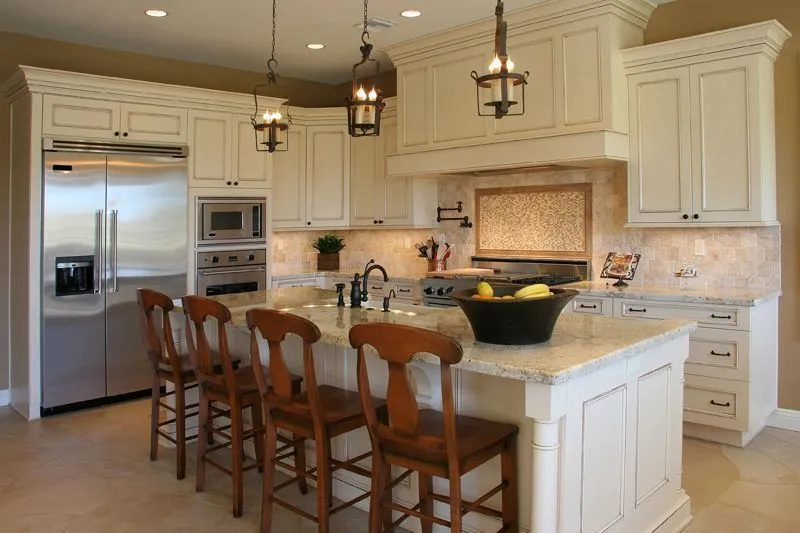
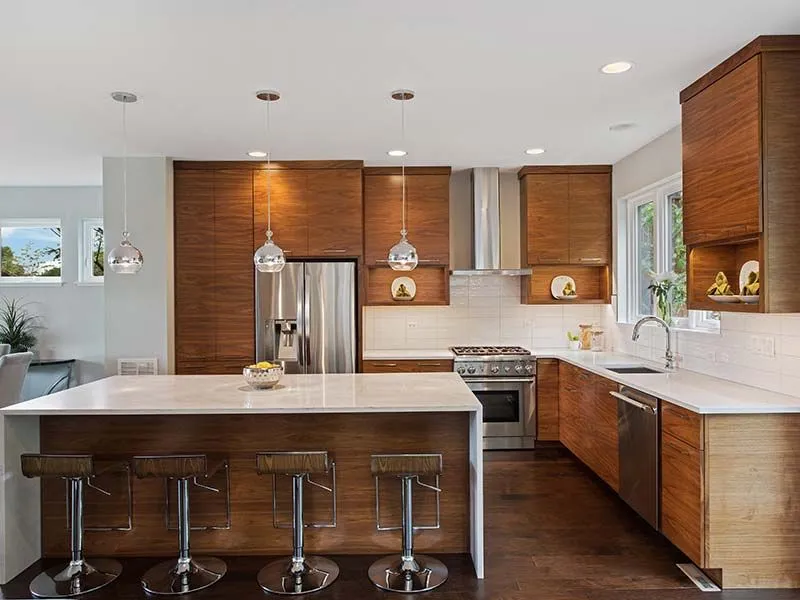
Dreaming of a kitchen or bathroom that’s both beautiful and functional? New cabinets are a fantastic way to achieve just that, offering a fresh aesthetic and much-needed storage. While the thought of cabinet installation might seem daunting, with the right preparation and techniques, you can achieve a professional-looking result. At TDK Construction Company, serving Lodi, CA, we believe that understanding the process empowers homeowners, whether you’re a seasoned DIYer or considering professional help for your cabinet installation near you. This guide will walk you through essential tips to ensure a flawless finish for your cabinet project.
Meticulous Planning: The Foundation of Successful Cabinet Installation
Building an ADU doesn’t have to be stressful, especially when you have an experienced contractor by your side.
Next, carefully inspect your new cabinets upon arrival. Check for any damage during shipping and ensure all the necessary hardware is included. Familiarize yourself with the manufacturer’s instructions. It’s also a good idea to gather all your tools beforehand. You’ll likely need a stud finder, a level (both a long and a short one), a drill with various bits, a screwdriver set, a measuring tape, a pencil, safety glasses, and possibly a laser level or shims. Proper planning minimizes errors and ensures you have everything you need within reach, making the actual cabinet installation process much more efficient.
Finding Your Anchors: Locating Wall Studs for Secure Mounting
One of the most critical steps in cabinet installation is securely mounting the cabinets to the wall studs. Studs provide the necessary support to hold the weight of the cabinets and their contents. Using a stud finder, locate and mark the positions of the studs along your walls. It’s wise to double-check these locations with a thin nail or drill bit.
Once you’ve identified the studs, transfer these locations onto the back of your cabinets. For upper cabinets, consider the desired height from the countertop (typically 18 inches) and draw a level line as your reference. When mounting, ensure that your screws go directly into the center of the studs. Using appropriately sized screws is essential – they should be long enough to penetrate well into the stud without going all the way through the wall. Securely attaching your cabinets to the studs is paramount for safety and the longevity of your cabinet installation.
The Art of Leveling: Ensuring a Professional and Functional Finish
Leveling is non-negotiable for a professional-looking and functional cabinet installation. Cabinets that aren't level can lead to doors and drawers that don't close properly, and an overall visually unappealing result. Start by ensuring your base cabinets are perfectly level, both front to back and side to side. Use shims if necessary to compensate for any unevenness in the floor.
For upper cabinets, use your previously drawn level line as a guide. As you mount each cabinet, continuously check for level. If you're installing multiple upper cabinets side-by-side, clamp them together and ensure they are flush and level with each other before securing them to the wall. A laser level can be particularly helpful for this stage, projecting a consistent horizontal line across the entire wall. Taking the time to meticulously level each cabinet will significantly enhance the final appearance and functionality of your cabinet installation.
Adding the Finishing Touches: Doors, Drawers, and Hardware
Once the main cabinet boxes are securely installed and level, it’s time for the finishing touches that bring everything together. This includes installing doors, drawers, and hardware such as handles and knobs. Carefully align and attach the hinges for the doors, ensuring they swing smoothly and close properly. Adjust the hinges as needed to achieve perfect alignment.
For drawers, install the slides according to the manufacturer’s instructions, ensuring they are level and allow the drawers to open and close smoothly. Finally, install your chosen handles or knobs, making sure they are consistently placed on all doors and drawers for a uniform look. These seemingly small details can make a big difference in the overall aesthetic and functionality of your newly installed cabinets. Paying attention to these finishing touches will elevate your cabinet installation from simply functional to truly flawless. If you're searching for expert cabinet installation near me in Lodi, CA, our team at TDK Construction Company is here to handle every detail with precision.
Work with the Best Accessory Dwelling Unit Builders in Lodi, CA!
Don't let the complexities of cabinet installation overwhelm you. At
TDK Construction Company in Lodi, CA, our experienced team provides professional and efficient
cabinet installation services tailored to your needs. At TDK Construction Company, our dedication lies in our precise and thorough approach, ensuring a perfect result with every cabinet installation. Whether you're renovating your
kitchen,
bathroom, or your
whole house, we're here to make your vision a reality.
Call us today at (209) 210-7434 for a consultation and let us handle your cabinet installation with expertise and care!
Frequently Asked Questions
How long does a typical cabinet installation take?
The duration of a cabinet installation can vary depending on the size and complexity of the project, but typically ranges from one to several days. Factors such as the number of cabinets, the layout, and any unexpected issues can influence the timeline.
Do I need to empty my existing cabinets before the new installation?
Yes, it is essential to completely empty your existing cabinets before the demolition and new installation process begins. This ensures the safety of your belongings and provides a clear workspace for the installation team.
What should I do to prepare my home for cabinet installation?
To prepare for your cabinet installation, clear the area where the new cabinets will be installed, remove any wall coverings if necessary, and ensure easy access for the installation team. Protecting the flooring and nearby furniture is also a good idea.
How do I choose the right height for my upper cabinets?
The standard height for upper cabinets above a countertop is typically 18 inches, but this can be adjusted based on your preference and ceiling height. Consider the accessibility and visual balance of the space when making this decision.
What if I encounter issues during my DIY cabinet installation?
If you encounter significant issues during your DIY cabinet installation, it's best to consult with a professional. Attempting to force solutions can lead to damage or an unsafe installation; TDK Construction Company is always ready to assist with expert solutions.
Share This Article
Our Latest Blog Articles







-1920w.webp)



-1920w.webp)









-640w.webp)



-640w.webp)